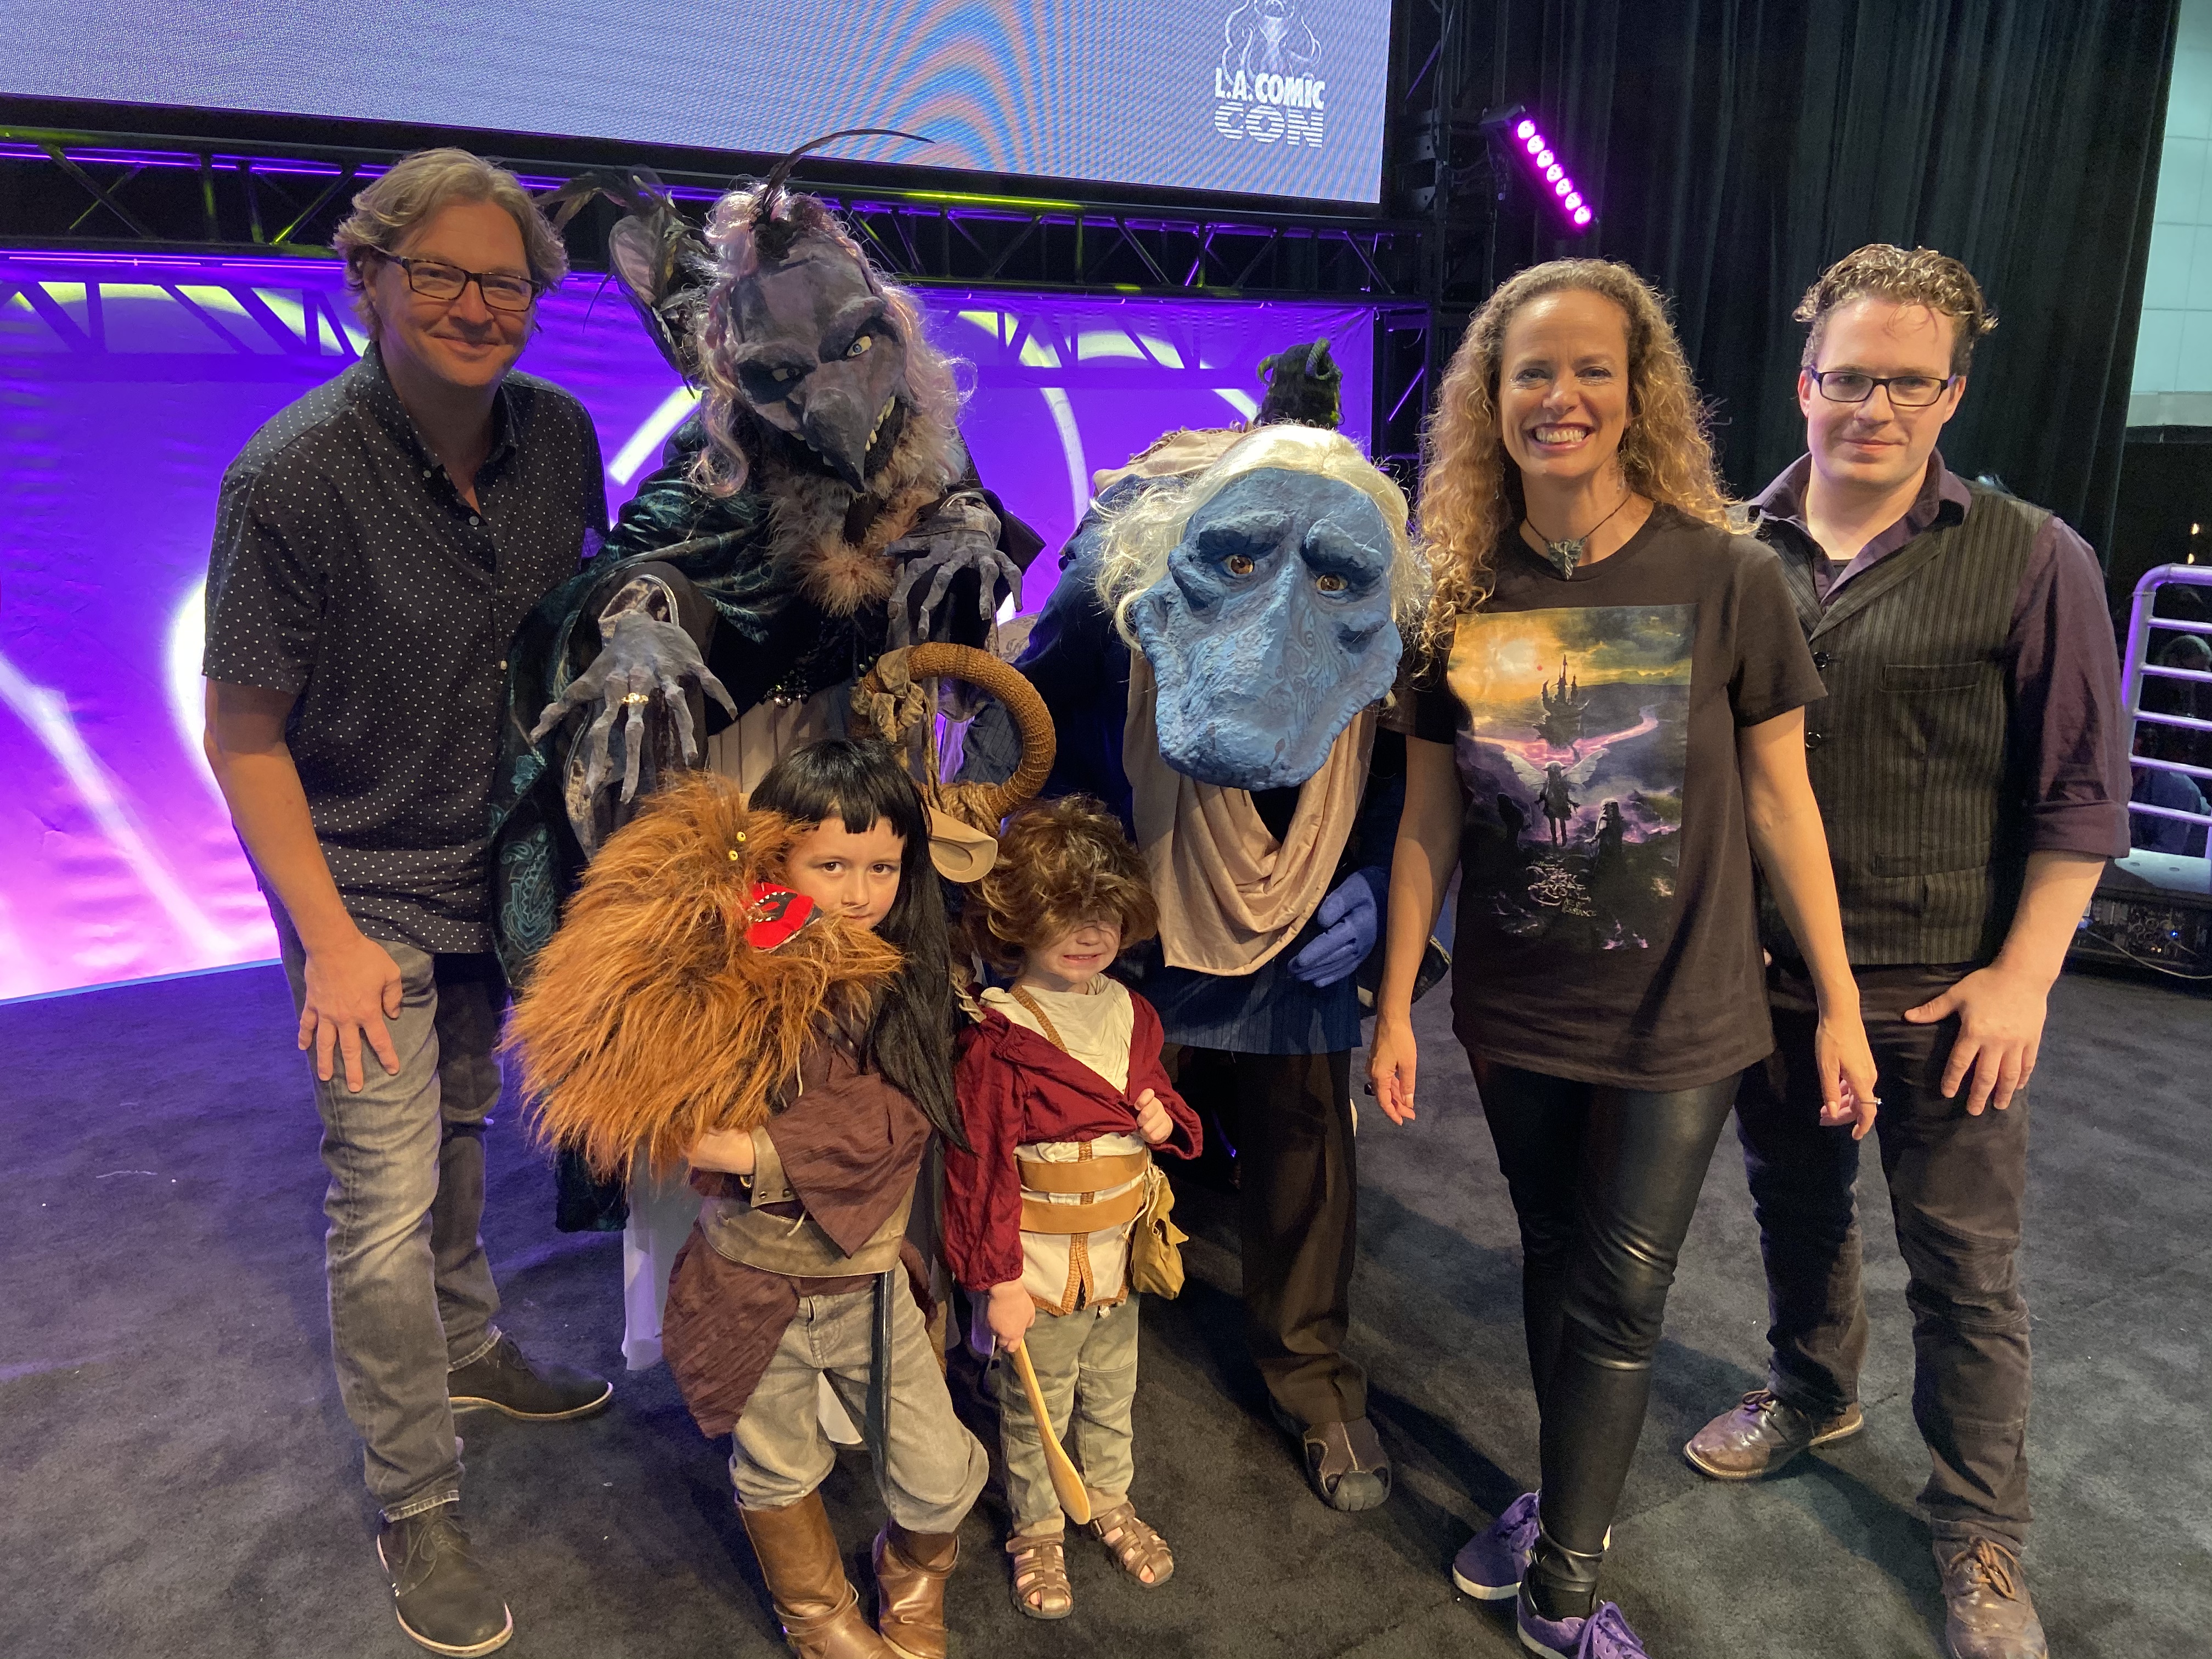
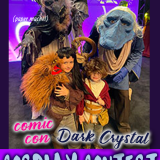
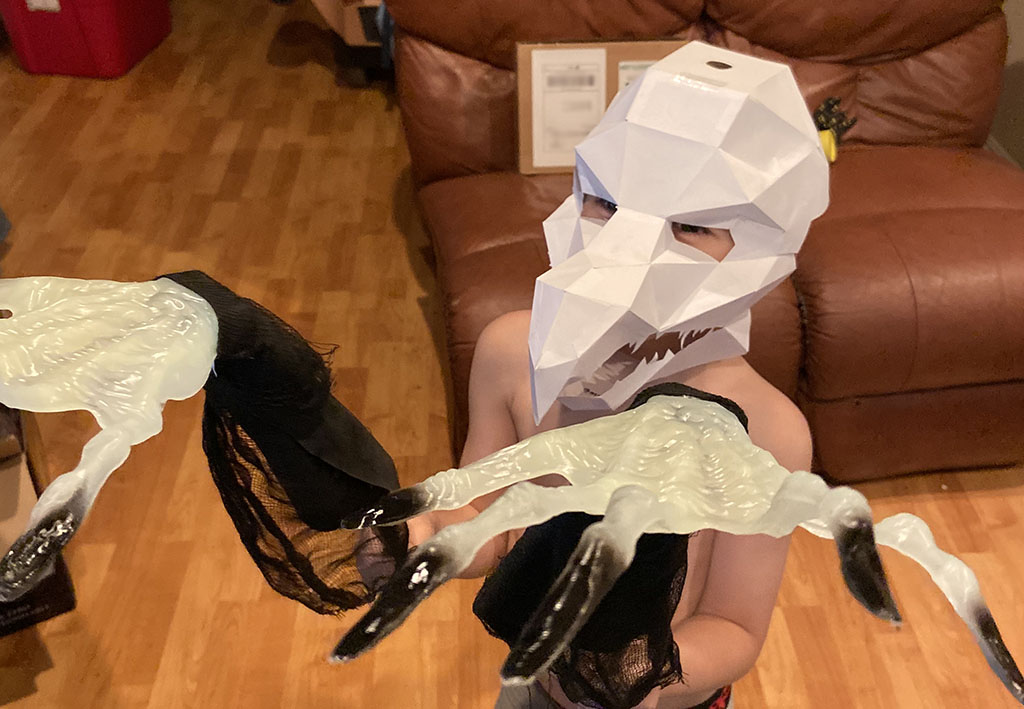
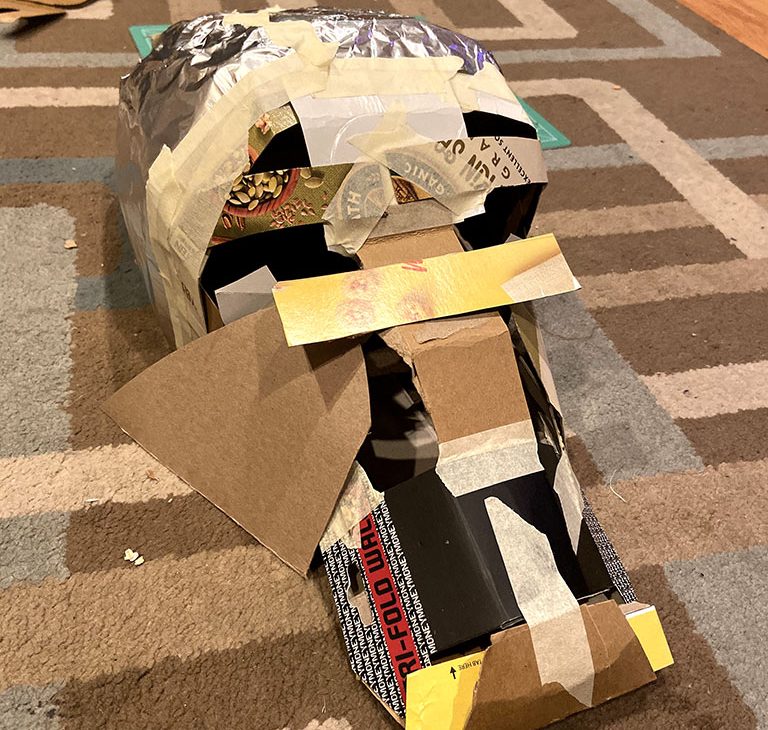
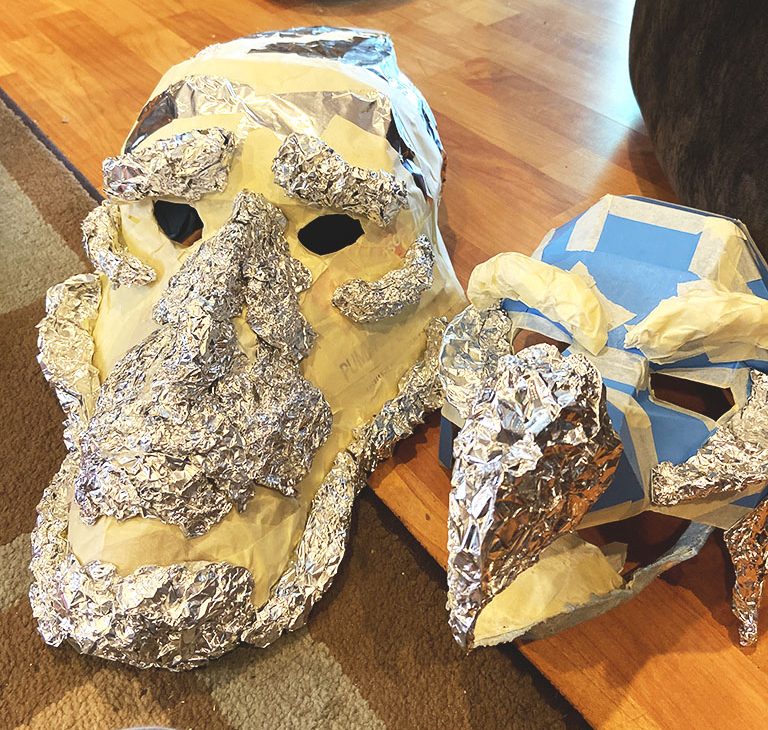
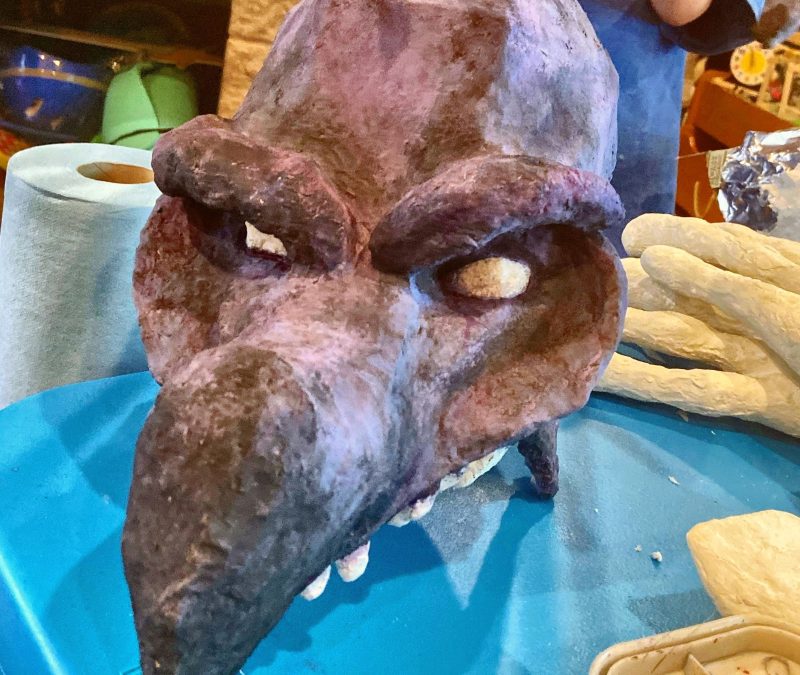
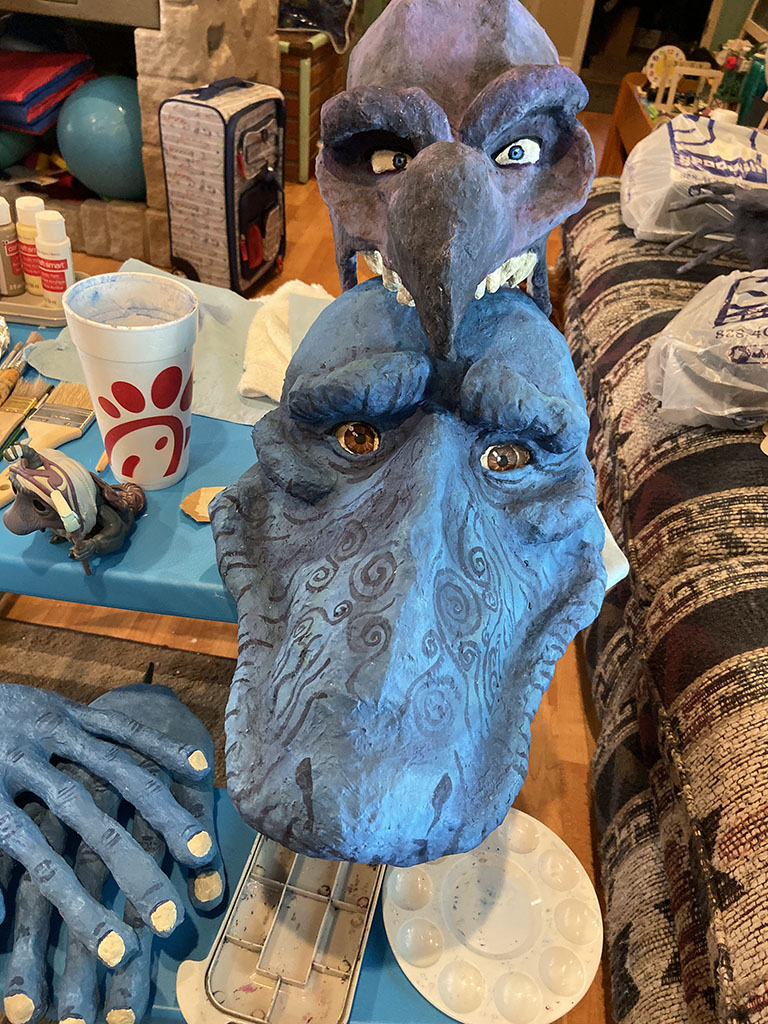
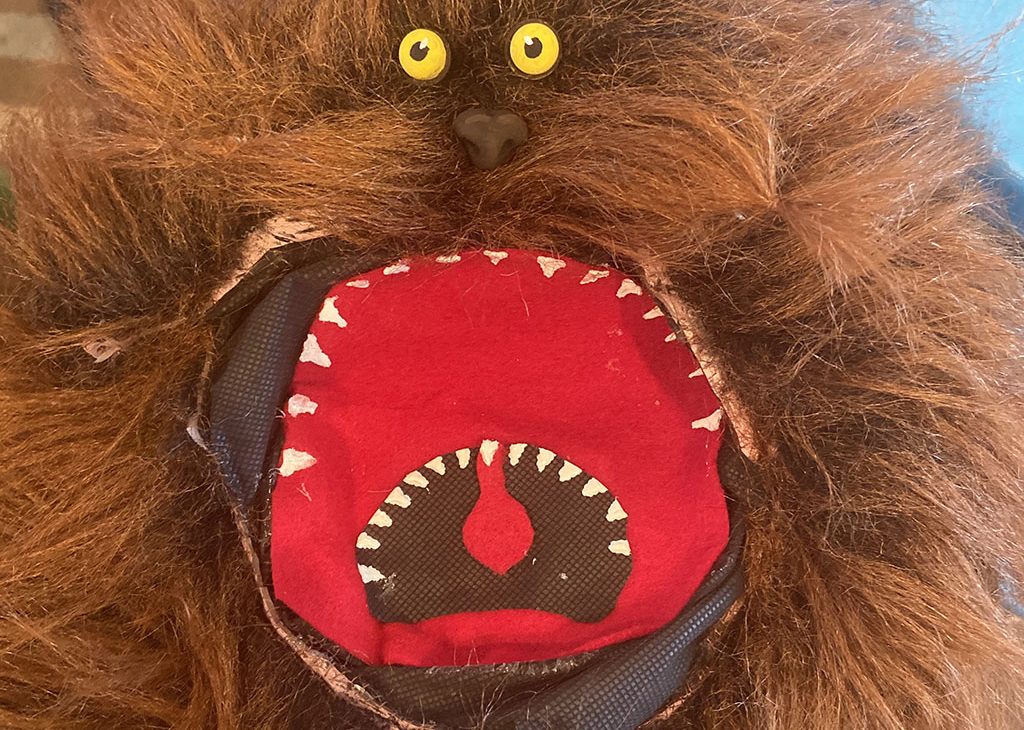
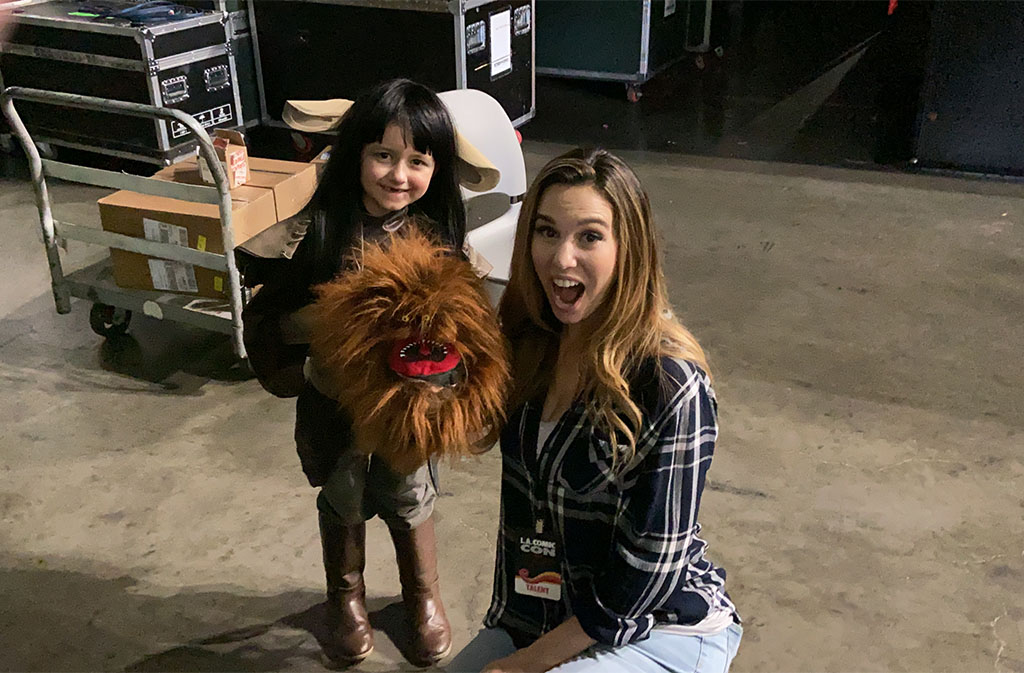
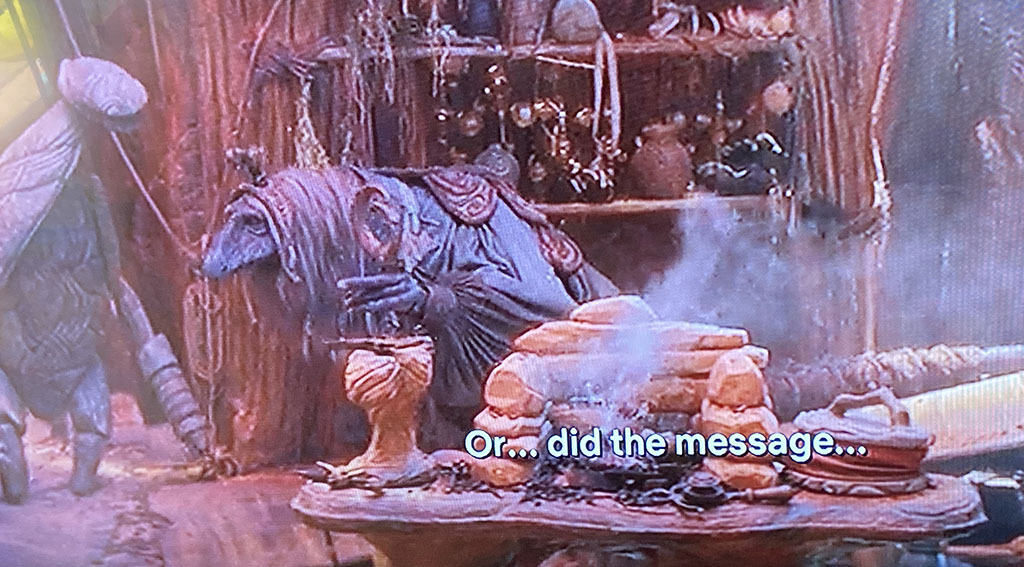
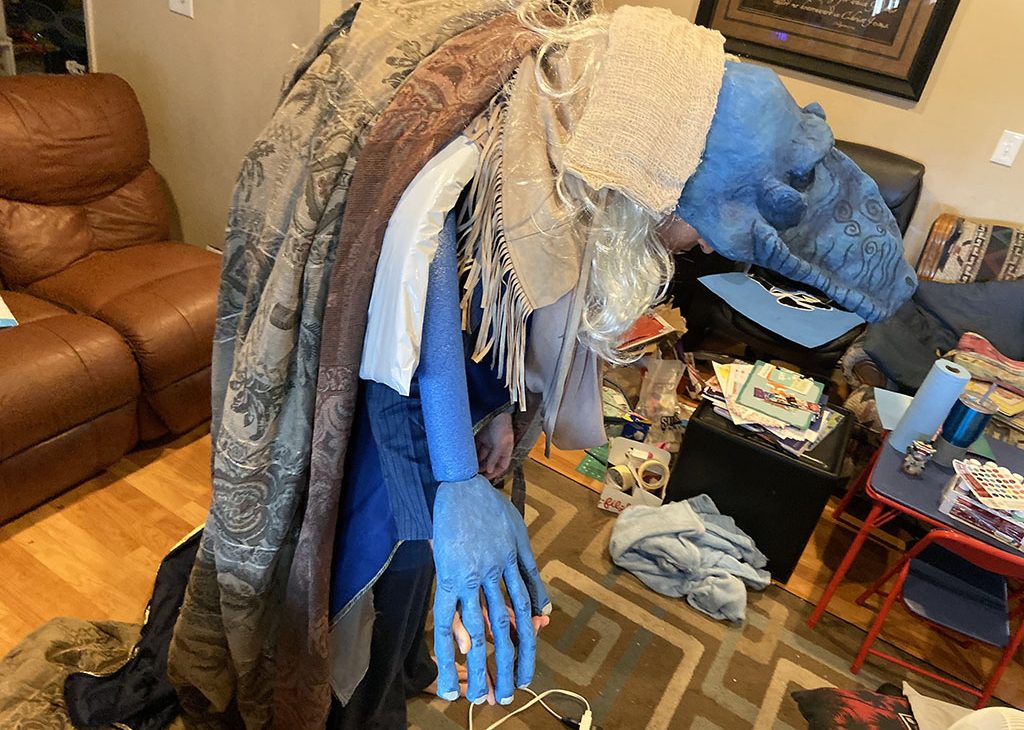
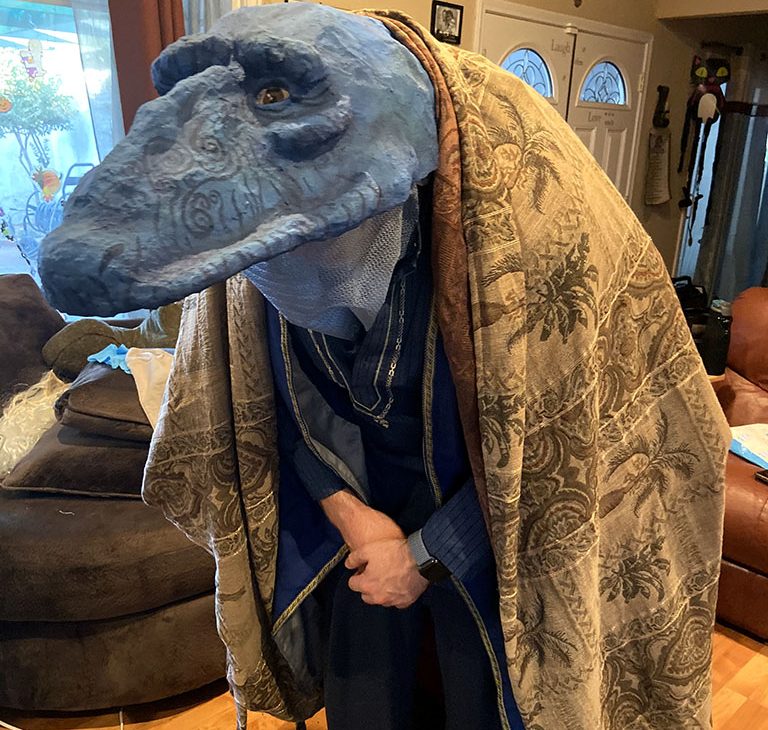
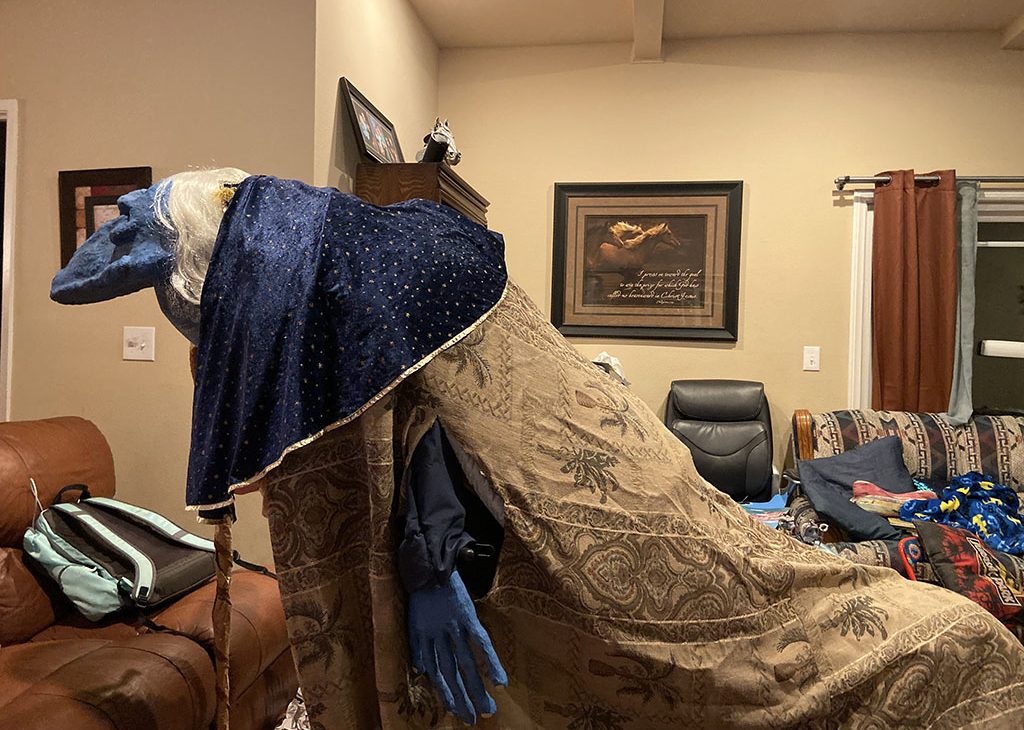
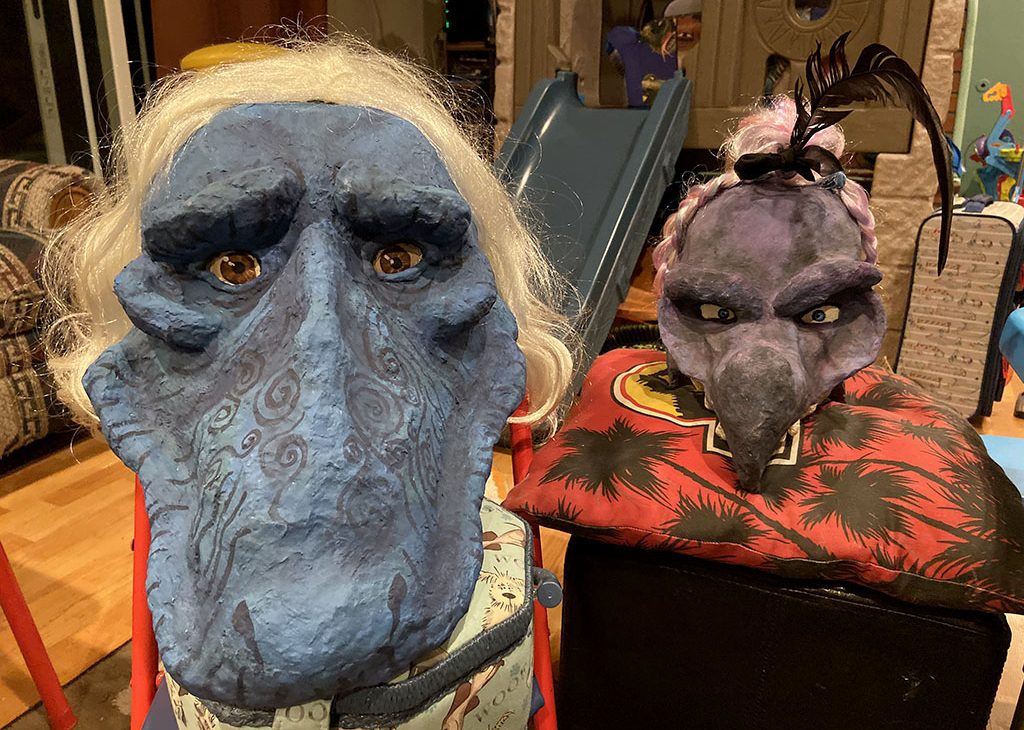
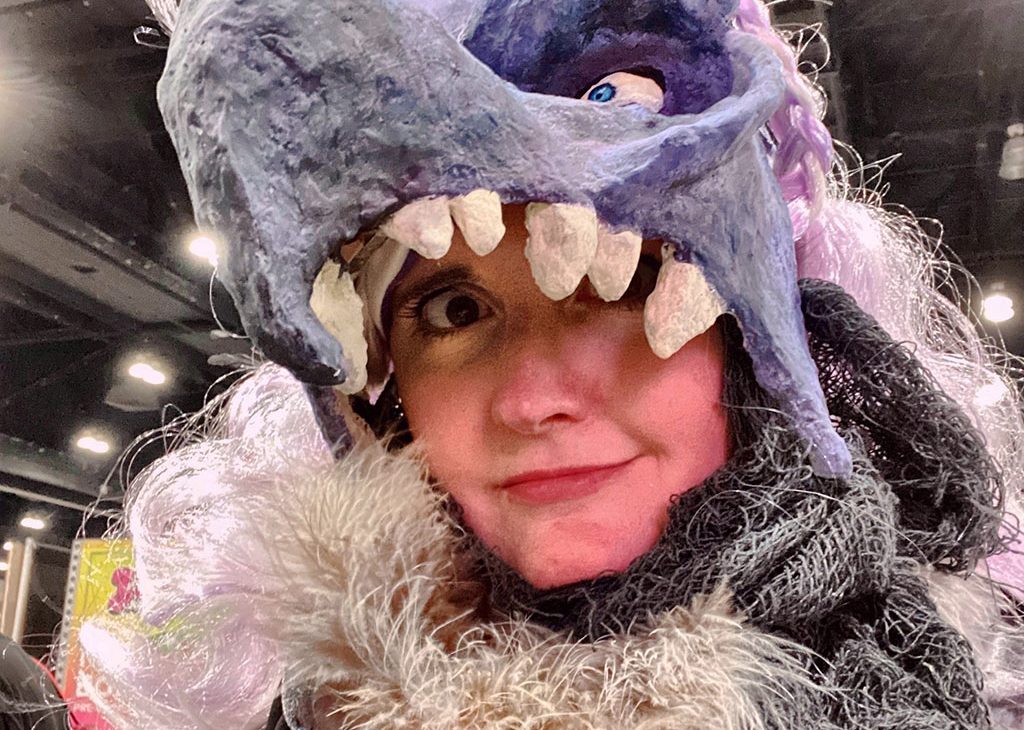
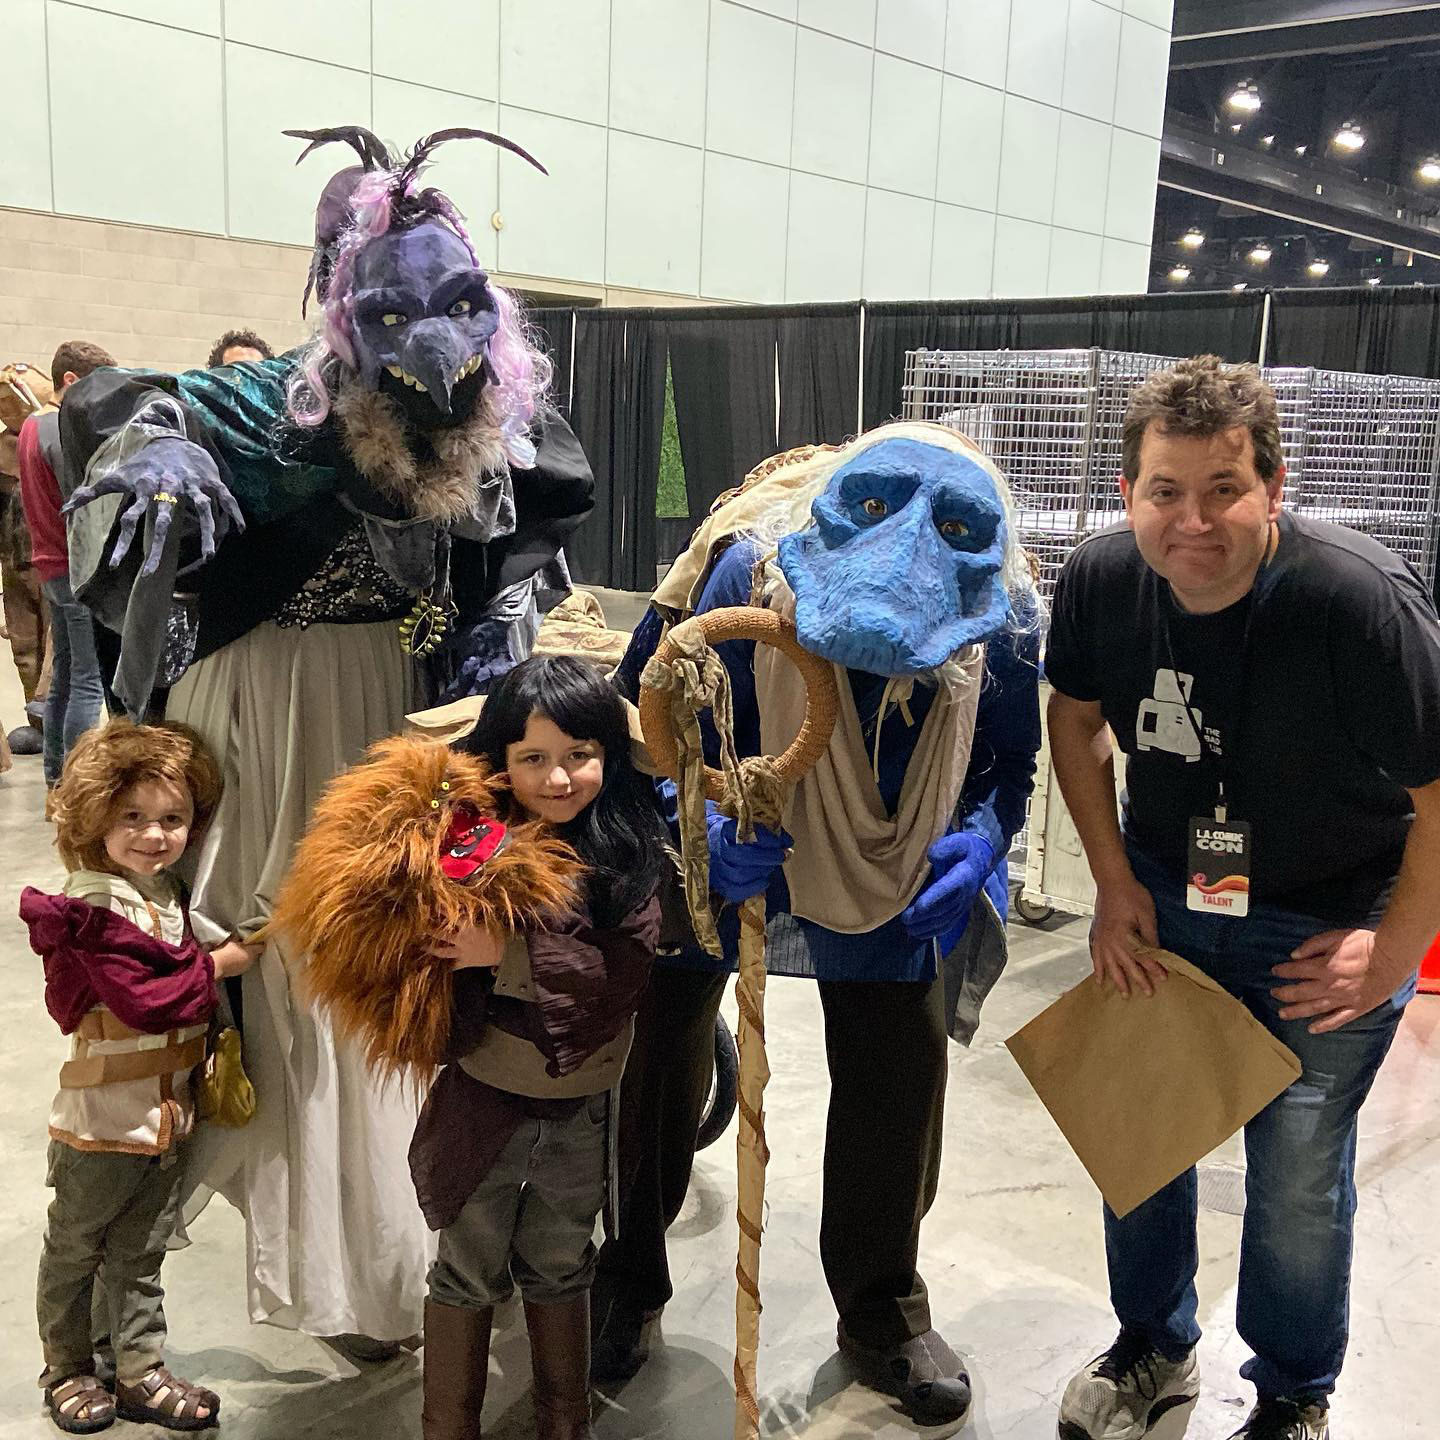
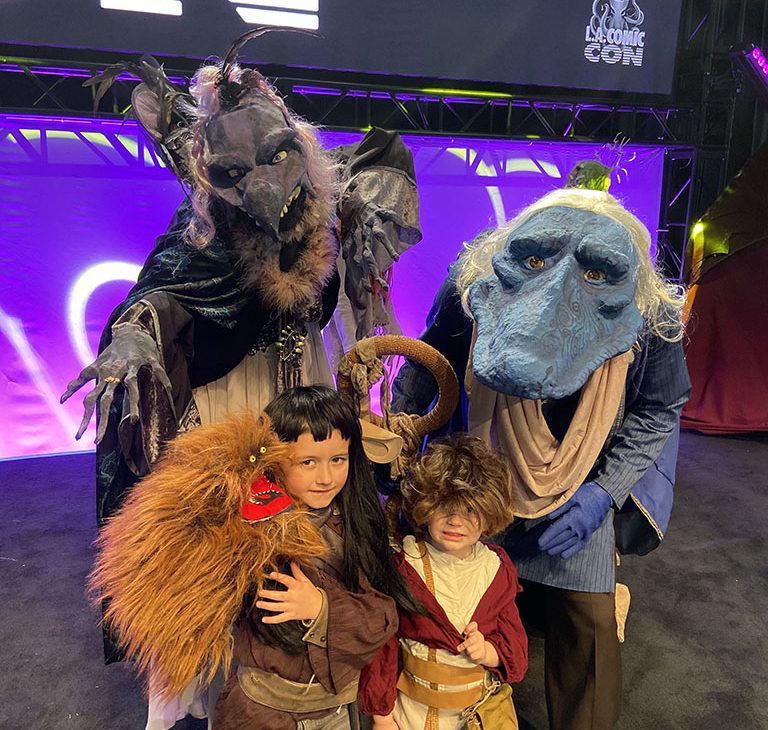
We Entered Jim Henson Studios’ Dark Crystal Cosplay Contest (costume build walkthrough)


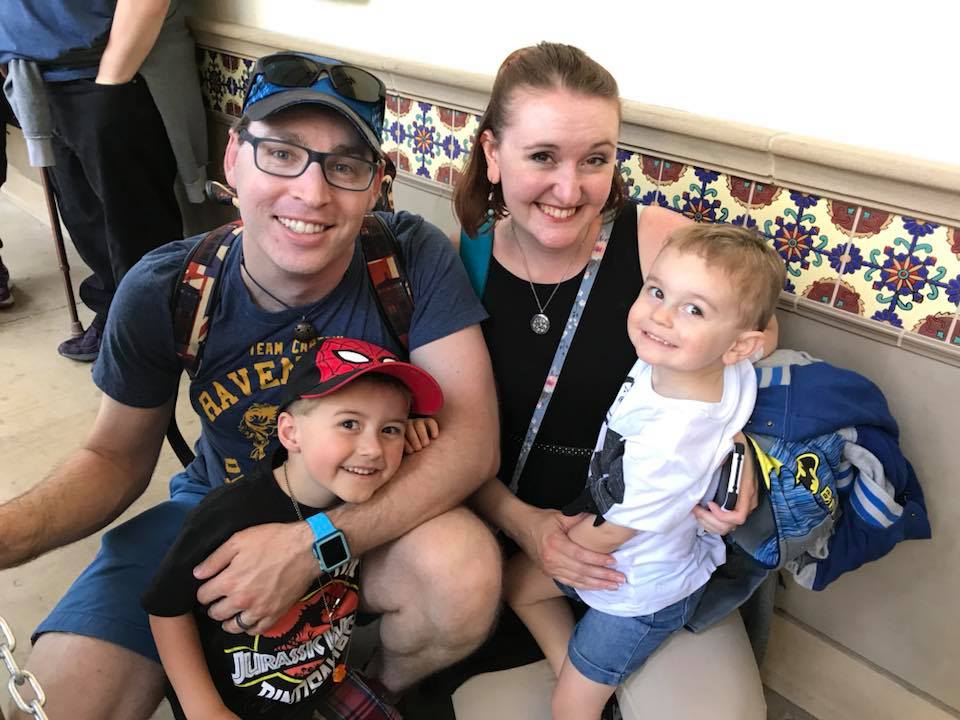
Welcome! We're the Morgans. We're a bunch of fun loving, nerdy folks who love to travel and explore together, trying new things and spreading the word about the ones we love so you can try them too! Come wander with us on our adventures!
Send this to a friend